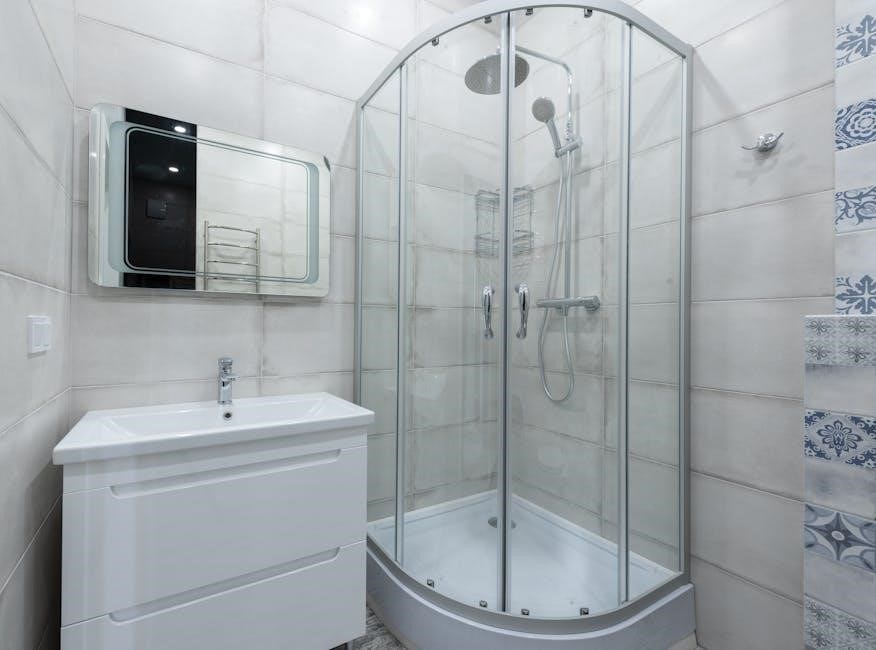
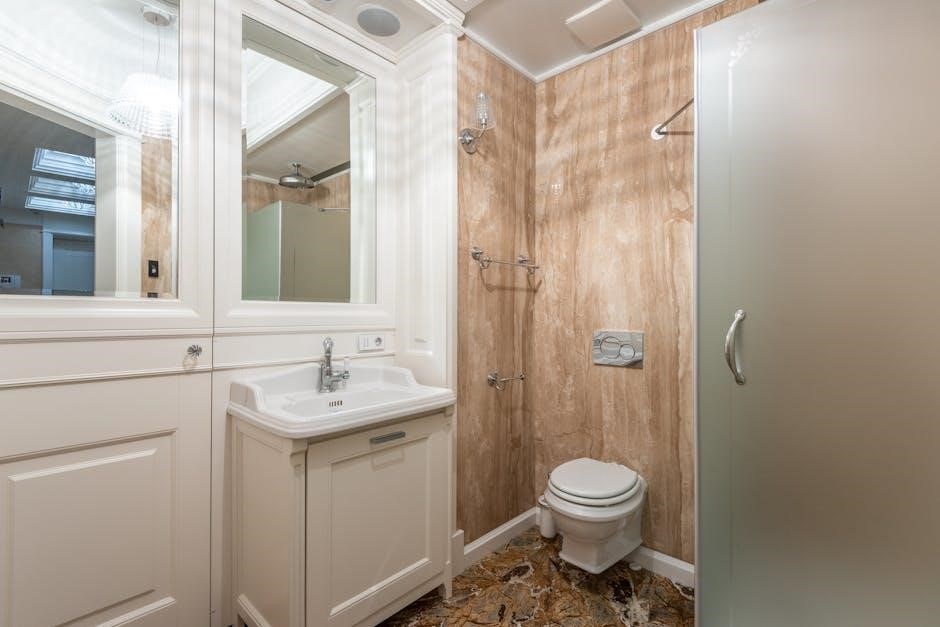
Sliding shower door bottom guides are essential components‚ ensuring smooth and reliable operation of your shower enclosure. These guides‚ often plastic or metal‚
keep the door aligned within the track‚ preventing wobbling and sticking. Maintaining these guides extends the lifespan of your shower door and improves water containment.
What are Sliding Shower Door Bottom Guides?
Sliding shower door bottom guides are crucial parts found on top-hung shower door systems‚ facilitating smooth movement along the track. Typically constructed from plastic or metal‚ these guides attach to the bottom of the glass door panel.
They fit within a 1/2 inch channel‚ supporting the door’s weight and maintaining alignment. Shuisen and Prime-Line are popular brands offering these guides‚ designed for glass thicknesses up to 7/16 inch. Their primary function is to prevent the door from derailing or wobbling during use‚ ensuring a secure and watertight seal.
Why Bottom Guides Matter for Smooth Operation
Sliding shower door bottom guides are vital for effortless door movement‚ preventing frustrating sticking or wobbling. Worn or broken guides compromise the door’s alignment‚ leading to operational difficulties and potential water leakage.
Properly functioning guides distribute the door’s weight evenly‚ reducing stress on rollers and the track. Regular maintenance‚ including cleaning and lubrication‚ ensures continued smooth gliding. Addressing guide issues promptly‚ as suggested by ACE DECOR‚ prevents further damage and extends the shower door’s lifespan‚ maintaining a secure enclosure.
Types of Sliding Shower Door Bottom Guides
Sliding shower door bottom guides come in plastic‚ metal‚ and adjustable varieties. Plastic guides are common‚ while metal offers durability. Adjustable guides allow for fine-tuning alignment;
Plastic Bottom Guides
Plastic bottom guides‚ like the Prime-Line M 6192‚ are a frequently used and cost-effective solution for sliding shower doors. They are designed to fit within 1/2 inch channels and accommodate glass thicknesses up to 7/16 inch.
These guides are generally quieter in operation compared to metal alternatives‚ reducing noise during sliding. While durable enough for many applications‚ plastic guides may be more susceptible to wear and tear over time‚ especially with frequent use or heavier doors. They are easily installed with a simple two-fastener system.
Metal Bottom Guides
Metal bottom guides offer increased durability and strength compared to plastic options‚ making them suitable for heavier shower doors or high-traffic bathrooms. While less common than plastic‚ metal guides provide a robust solution for long-lasting performance.
They maintain alignment within the 1/2 inch channel and support glass thicknesses up to 7/16 inch. However‚ metal guides can sometimes be noisier during operation. Regular inspection is crucial to prevent corrosion and ensure continued smooth sliding action‚ extending the shower door’s lifespan.
Adjustable Bottom Guides
Adjustable bottom guides provide a versatile solution for shower doors that may have slight misalignments or variations in height. These guides allow for fine-tuning of the door’s position‚ ensuring a proper seal and smooth sliding motion.
They accommodate minor imperfections in the installation or settling of the shower enclosure. Adjustment mechanisms typically involve screws or clips. Proper adjustment is key to preventing sticking‚ wobbling‚ and water leakage‚ contributing to a longer-lasting and more functional shower experience.

Identifying Problems with Bottom Guides
Recognizing issues with your sliding shower door’s bottom guides is crucial for timely repair. Common signs include sticking‚ wobbling‚ or difficulty sliding‚ indicating wear or damage.
Common Signs of a Worn or Broken Guide
Detecting wear and tear on your sliding shower door bottom guides is the first step towards a smooth fix. A primary indicator is difficulty sliding – the door may feel stuck or require excessive force to move. Wobbling is another telltale sign‚ suggesting the guide isn’t properly stabilizing the glass panel.
Visually inspect the guide itself for cracks‚ breaks‚ or significant deformation. Loose guides that easily detach from the track also signal a problem. Ignoring these signs can lead to further damage and potential safety hazards‚ so prompt attention is key.
Sticking or Difficult Sliding
A sticking shower door often points directly to issues with the bottom guides. Accumulated soap scum and dirt within the track significantly impede smooth movement‚ increasing friction. Worn or damaged guides lose their ability to properly align the door‚ causing it to bind.
Before assuming a broken guide‚ thoroughly clean the track and lubricate with a silicone-based product. If the door remains difficult to slide after cleaning and lubrication‚ the guide likely requires replacement. Addressing this promptly prevents further strain on the entire system.
Wobbling Shower Door
A wobbling shower door is a clear indication of compromised bottom guide integrity. Worn or broken guides fail to provide the necessary stability‚ allowing the door to shift and sway during operation. This instability can create a dangerous situation‚ potentially leading to glass breakage.
Inspect the guides for visible damage‚ such as cracks or deformation. Ensure proper alignment within the track; misalignment exacerbates wobbling. Replacing damaged guides is crucial to restore stability and prevent further issues‚ ensuring safe and reliable shower door function.
Tools and Materials Needed for Repair
Repairing sliding shower door bottom guides requires a screwdriver‚ replacement guides (plastic or metal)‚ silicone lubricant‚ and cleaning supplies to effectively address the issue.
Screwdriver
A screwdriver is a fundamental tool for removing and installing sliding shower door bottom guides. Typically‚ a Phillips head screwdriver is required‚ as most guides are secured with screws of this type. However‚ depending on the specific guide and shower door model‚ a flathead screwdriver might also be necessary.
Ensure the screwdriver bit precisely matches the screw head to prevent stripping. Applying consistent pressure while turning is crucial for efficient removal and secure tightening of the new guide. Having multiple sizes available can be beneficial for various installations.
Replacement Bottom Guides
Obtaining the correct replacement bottom guides is critical for a successful repair. Guides like the Prime-Line M 6192 (Home Depot) and Shuisen M6219 (Amazon) are popular choices‚ often sold in 2-packs. These guides typically fit 1/2 inch channels and accommodate glass thicknesses up to 7/16 inch.
Ensure the new guides match the original’s material – plastic or metal – for optimal compatibility. Verify the guide’s dimensions and channel size before purchasing to avoid further issues during installation and ensure a proper fit.
Silicone-Based Lubricant
Silicone-based lubricant plays a vital role in restoring smooth sliding action after replacing bottom guides. Applying it to the shower door track minimizes friction‚ preventing sticking and ensuring effortless movement. This lubricant is preferred over oil-based products as it doesn’t attract dirt and grime‚ maintaining its effectiveness longer.
A thin‚ even coat is sufficient; excessive lubricant can create a slippery surface. Regular application‚ as part of preventative maintenance‚ keeps the door gliding smoothly and extends the life of the guides.
Cleaning Supplies (for track)
Effective cleaning supplies are crucial when replacing sliding shower door bottom guides. Accumulated soap scum and dirt within the track significantly hinder smooth operation and accelerate guide wear. Essential supplies include a non-abrasive cleaner‚ a scrub brush or sponge‚ and a microfiber cloth.
Thoroughly cleaning the track before installing the new guide ensures optimal performance. Removing debris prevents premature wear and tear‚ contributing to a longer-lasting‚ smoothly functioning shower door system.
Step-by-Step Guide to Replacing a Bottom Guide
Replacing a sliding shower door bottom guide involves assessing damage‚ removing the old guide‚ cleaning the track‚ installing the new one‚ and testing the sliding motion.
Step 1: Assessing the Damage
Begin by carefully inspecting the existing bottom guide for visible signs of wear‚ cracks‚ or breakage. Determine if the guide is loose or has become detached from the shower door. Observe how the door slides – is it sticking‚ wobbling‚ or difficult to move?
Check the track for accumulated soap scum and debris‚ as this can contribute to guide malfunction. Note the glass thickness (up to 7/16 inch) and channel size (typically 1/2 inch) to ensure compatibility with a replacement guide. Thorough assessment guides proper replacement.
Step 2: Removing the Old Guide
Using a screwdriver‚ carefully remove the screws securing the damaged bottom guide to the shower door. Support the door during removal to prevent it from falling or causing injury. Gently detach the old guide‚ noting its orientation for proper replacement.
If the guide is stuck‚ avoid excessive force; try wiggling it gently. Inspect the screw holes for damage and consider using new screws with the replacement guide. Handle the glass carefully throughout this process to avoid breakage or cuts.
Step 3: Cleaning the Shower Door Track
Thoroughly clean the shower door track to remove accumulated soap scum‚ dirt‚ and debris. Use appropriate cleaning supplies and a brush or cloth to scrub the track effectively. Ensure all residue is eliminated‚ as buildup can hinder the smooth operation of the new guide.
A clean track provides a smooth surface for the guide to glide upon‚ preventing sticking and ensuring proper alignment. Rinse the track with water and allow it to dry completely before proceeding with the installation.
Step 4: Installing the New Guide
Carefully install the new bottom guide into the designated slot within the shower door. Ensure it’s properly seated and aligned with the track. Secure the guide using the provided screws‚ tightening them firmly but avoiding over-tightening‚ which could damage the glass or the guide itself.
Double-check that the guide is flush and stable. Proper installation is crucial for the door’s smooth sliding action and overall stability. Verify the guide maintains secure attachment before testing.
Step 5: Testing the Sliding Motion
Gently test the shower door’s sliding motion after installing the new bottom guide. Slide the door back and forth several times‚ observing for any resistance‚ sticking points‚ or wobbling. A smooth‚ effortless glide indicates successful replacement.
If any issues persist‚ re-examine the guide’s installation‚ ensuring it’s correctly aligned and securely fastened. Apply a silicone-based lubricant to the track to further enhance smoothness and prevent future problems. Verify all rollers maintain correct positioning;
Choosing the Right Replacement Guide
Selecting the correct guide requires measuring glass thickness (up to 7/16 inch) and channel size (typically 1/2 inch). Consider plastic versus metal material for durability.
Measuring Glass Thickness (Up to 7/16 inch)
Accurate glass thickness measurement is crucial for selecting a compatible bottom guide. Most sliding shower door bottom guides‚ like the Shuisen M6219‚ are designed to accommodate glass thicknesses up to 7/16 inch.
Use a ruler or measuring tape to determine the precise thickness of your shower door glass. Incorrect sizing can lead to improper alignment‚ causing sticking or wobbling. Ensure the guide’s specifications clearly state its maximum glass thickness capacity before purchasing a replacement. A precise fit guarantees smooth operation and prevents potential damage.
Channel Size Compatibility (1/2 inch Channels)
Confirming channel size compatibility is vital when replacing sliding shower door bottom guides. Many guides‚ including the Prime-Line M6192 and Shuisen M6219‚ are specifically designed for 1/2 inch channels.
Measure the width of the track or channel where the bottom guide slides. An incorrect channel size will prevent proper installation and functionality. Ensure the replacement guide’s product description explicitly states its compatibility with 1/2 inch channels. A secure fit within the channel is essential for stable door movement and preventing future issues.
Material Considerations (Plastic vs. Metal)
Choosing between plastic and metal bottom guides depends on your needs and budget. Plastic guides‚ like the Prime-Line M6192‚ are cost-effective and won’t damage glass. However‚ they may wear out faster with heavy use.
Metal guides offer increased durability and are suitable for frequently used showers. Consider the potential for metal-on-glass contact and possible scratching. Evaluate the weight of your shower door; heavier doors benefit from the strength of metal guides for long-lasting support.

Preventative Maintenance for Bottom Guides
Regular cleaning with effective techniques and lubrication with silicone-based products are key. Inspect guides frequently for wear‚ ensuring smooth sliding and preventing future issues.
Regular Cleaning to Remove Soap Scum
Consistent cleaning is paramount for maintaining optimal bottom guide function. Soap scum and mineral deposits accumulate‚ causing friction and hindering smooth sliding. Utilize a non-abrasive cleaner specifically designed for shower doors and tracks.
A soft brush or cloth is ideal for scrubbing away residue from the guide and track. Thoroughly rinse with water after cleaning‚ ensuring no cleaner remains. This prevents corrosion and further buildup. Effective cleaning techniques‚ performed weekly‚ significantly extend the life of your guides and ensure effortless door operation.
Lubrication Schedule
Regular lubrication is crucial for preserving the smooth gliding action of your sliding shower door. Silicone-based lubricants are recommended‚ as they won’t damage the plastic or metal components. Avoid oil-based products‚ which can attract dirt and grime‚ exacerbating issues.
Apply a small amount of lubricant to the bottom guides and along the shower door track every three to six months‚ or more frequently with heavy use. This minimizes friction‚ prevents sticking‚ and extends the lifespan of the guides‚ ensuring effortless operation.
Inspecting for Wear and Tear
Regular inspection of your sliding shower door bottom guides is vital for preventative maintenance. Look for cracks‚ chips‚ or deformation in plastic guides‚ and signs of corrosion or bending in metal ones. Check if the guides are securely fastened and haven’t become loose over time.
Pay attention to any unusual noises during operation‚ like scraping or grinding‚ which could indicate wear. Early detection of damage allows for timely replacement‚ preventing more significant issues and ensuring continued smooth sliding action.

Troubleshooting Common Issues
Common problems include guides coming loose‚ doors still sticking post-replacement‚ or incorrect guide sizing. Verify secure attachment‚ proper lubrication‚ and correct part compatibility for solutions.
Guide Keeps Coming Loose
If the bottom guide repeatedly detaches‚ carefully inspect the screw holes within both the guide itself and the shower door frame. Stripped screw holes are a frequent culprit‚ preventing a secure hold. Consider using slightly larger screws‚ or employing toothpicks and wood glue to reinforce the existing holes before re-installation.
Ensure the guide is correctly aligned and fully seated within the track before tightening the screws. Regularly check the screws for tightness‚ as vibration from door usage can gradually loosen them over time. A dab of threadlocker on the screw threads can also help maintain a secure connection.
Door Still Sticks After Replacement
If sticking persists post-replacement‚ thoroughly clean the shower door track‚ removing all traces of soap scum and mineral deposits. These residues significantly impede smooth sliding. Apply a silicone-based lubricant generously along the track’s entire length‚ ensuring even distribution.
Verify the new guide is fully compatible with your door’s glass thickness and the track’s channel size. Inspect the top rollers for smooth operation; issues there can mimic bottom guide problems. Finally‚ confirm the door is properly aligned within the track‚ adjusting as needed.
Incorrect Guide Size
Using an improperly sized guide is a common cause of continued sliding issues. Ensure the new guide’s channel width precisely matches your shower door track – typically 1/2 inch. Confirm the guide accommodates your glass thickness‚ generally up to 7/16 inch.
A guide that’s too small will bind‚ while one that’s too large will allow excessive wobble. Double-check product specifications before purchase and compare them meticulously to your existing hardware. Incorrect sizing negates the benefits of replacement and requires another attempt.
Where to Buy Replacement Guides
Replacement guides are readily available at major retailers like Home Depot (Prime-Line M 6192) and online marketplaces such as Amazon (Shuisen‚ M6219) for convenient purchase.
Home Depot (Prime-Line M 6192)
Home Depot carries the Prime-Line M 6192 Sliding Shower Door Bottom Guide‚ a popular and readily available option for many standard shower enclosures. This guide features a durable plastic construction in a gray finish‚ designed to fit 1/2 inch channels commonly found in shower door tracks.
The M 6192 is sold in convenient 2-packs‚ providing replacements for both sides of your shower door. Installation requires only a screwdriver and two fasteners‚ making it a straightforward DIY project. It’s a cost-effective solution for restoring smooth sliding action to your shower door.
Amazon (Shuisen‚ M6219)
Amazon offers the Shuisen M6219 Sliding Shower Door Bottom Guide as a reliable replacement part for top-hung tub enclosure systems. This guide is specifically designed for glass thicknesses up to 7/16 inch and fits standard 1/2 inch channels‚ ensuring compatibility with many shower door setups.
Sold in 2-packs with included screws‚ the Shuisen M6219 provides a complete solution for addressing sticking or misaligned shower doors. Constructed from plastic‚ it’s a durable and affordable option for DIY repairs‚ restoring smooth and quiet sliding functionality.
Cost of Replacement Guides
Replacement bottom guides are generally affordable‚ typically sold in 2-packs ranging from $10 to $20‚ offering a cost-effective solution for shower door repairs.
Typical Price Range for 2-Packs
When purchasing replacement sliding shower door bottom guides‚ expect to find 2-packs generally priced between $10 and $20. Prime-Line guides‚ available at Home Depot‚ often fall within this range. Amazon offers options like Shuisen guides (M6219) also typically priced around $15-$20 for a two-pack.
The exact cost can vary based on the material – plastic guides are usually less expensive than metal ones – and the retailer. Considering the convenience and cost-effectiveness‚ replacing guides is a budget-friendly DIY repair.

Safety Precautions
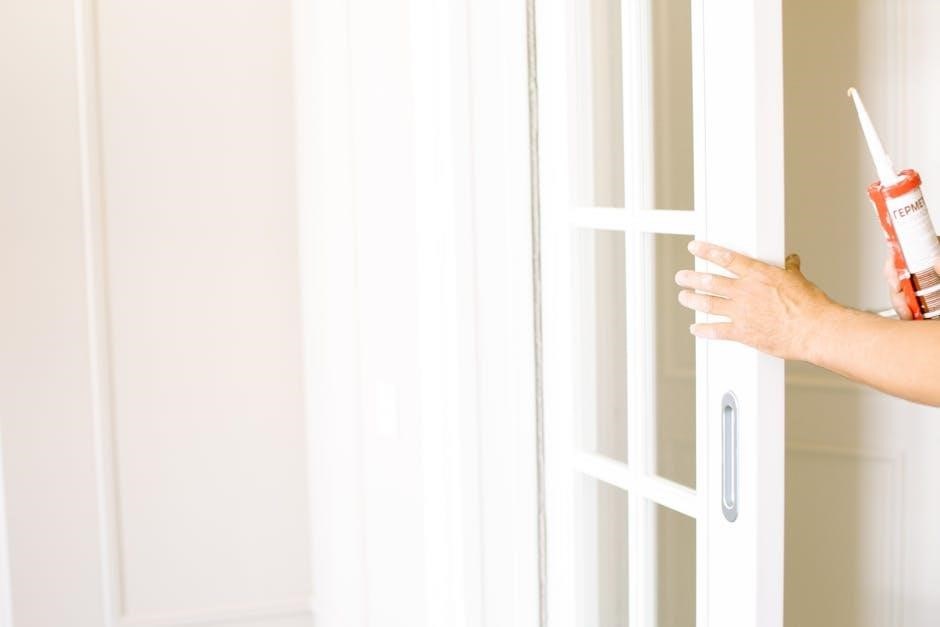
Always protect your hands with gloves during removal and installation. Handle the glass shower door carefully to avoid breakage or injury during the repair process.
Protecting Hands During Removal and Installation
When working with sliding shower door bottom guides‚ prioritizing hand protection is crucial. The edges of the glass door and the metal or plastic guides can be surprisingly sharp‚ posing a risk of cuts. Always wear heavy-duty work gloves throughout the entire process – from removing the old‚ potentially brittle guide‚ to installing the new replacement.
These gloves will provide a barrier against abrasions and accidental cuts. Additionally‚ be mindful of any screws or fasteners; a secure grip is essential to prevent slippage and potential injury while using a screwdriver. Safety first ensures a smooth repair!
Handling Glass Carefully
Shower door glass is heavy and fragile‚ demanding extreme caution during bottom guide replacement. Always have a second person assist when maneuvering the glass‚ especially during removal or if adjustments are needed. Support the glass panel fully to prevent undue stress and potential breakage.
Avoid placing the glass directly on hard surfaces; use protective padding like blankets or towels. Inspect the glass for existing cracks or chips before starting – any damage compromises its integrity. Slow‚ deliberate movements are key to preventing accidents and ensuring a safe repair process.

Long-Term Benefits of Maintaining Bottom Guides
Regular maintenance of sliding shower door bottom guides extends the door’s lifespan‚ prevents leaks‚ and ensures consistently smooth operation‚ saving you future repair costs.
Extended Shower Door Lifespan
Consistent maintenance of your sliding shower door bottom guides significantly contributes to the overall longevity of the entire shower enclosure system. By preventing undue stress on the rollers and glass panels‚ properly functioning guides minimize wear and tear. Addressing issues like sticking or wobbling promptly avoids more substantial damage down the line.
Neglecting these guides can lead to misalignment‚ potentially causing glass breakage or frame distortion. Regular cleaning and lubrication‚ coupled with timely replacement of worn parts‚ ensures years of trouble-free operation‚ ultimately protecting your investment and delaying the need for a complete shower door replacement.
Improved Water Containment
Well-maintained sliding shower door bottom guides are crucial for effective water containment within the shower enclosure. Properly aligned guides ensure a tight seal between the door and the track‚ preventing leaks and minimizing water spillage onto the bathroom floor. This is especially important with frameless designs where seals are critical.
Worn or damaged guides can cause the door to shift‚ creating gaps where water can escape. Addressing these issues promptly not only protects your bathroom from water damage but also contributes to a more comfortable and hygienic showering experience‚ reducing mold and mildew growth.