Guide to Lighting: A Comprehensive Overview (Updated 12/16/2025)
Illumination is key, blending artistry and technique for stunning visuals in both photography and design. Mastering light unlocks creative potential,
enhancing mood and detail.
Lighting fundamentally shapes how we perceive the world, impacting both photographic artistry and interior space. It’s more than just visibility; it’s about mood, drama, and highlighting key elements. In photography, understanding lighting patterns – like Rembrandt or butterfly lighting – is crucial for flattering portraits and creating compelling images.
Interior design utilizes a layered approach: ambient, task, and accent lighting, each serving a distinct purpose. A successful scheme blends these layers for functionality and aesthetic appeal. Creativity and skill are paramount; formulas alone won’t guarantee stunning results.
Understanding the Color Temperature of Light
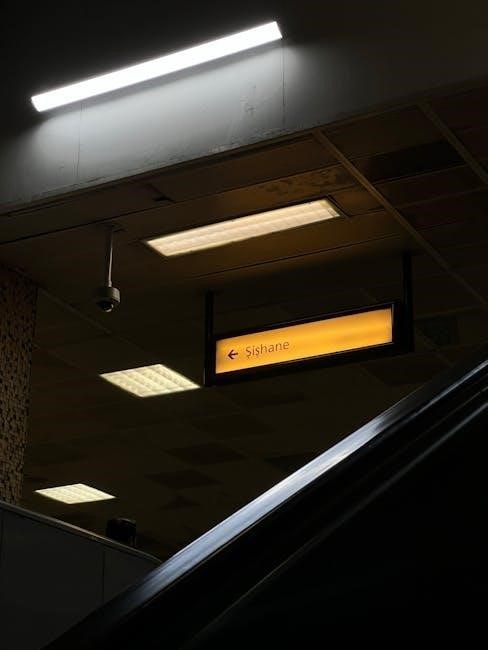
Color temperature, measured in Kelvins (K), dictates the warmth or coolness of light. Lower Kelvins (around 2700K) produce warm, yellowish light, ideal for cozy atmospheres. Higher Kelvins (5000K-6500K) emit cool, bluish light, often preferred for modern spaces and tasks requiring clarity.
Photographers leverage color temperature to influence mood; warmer tones evoke intimacy, while cooler tones suggest cleanliness or drama. Understanding how different light sources – LED, strobe, or natural sunlight – affect color is vital for consistent results. Adjusting white balance is key to accurate color representation.
Types of Artificial Light Sources
Artificial lighting offers control and consistency, crucial for both photography and interior design. LEDs are energy-efficient and versatile, suitable for continuous illumination. Strobes/Flashes provide powerful bursts of light, ideal for freezing motion and overcoming ambient light. Continuous lighting, like tungsten or fluorescent, offers a “what you see is what you get” experience, simplifying setup.
Each source has unique characteristics. Strobes require power packs and modifiers, while LEDs offer adjustable color temperature. Choosing the right source depends on the desired effect and budget.
LED Lighting: Advantages and Applications
LEDs are revolutionizing lighting due to their efficiency and longevity. They consume significantly less power than traditional bulbs, reducing energy costs; Color temperature is adjustable, offering creative control from warm to cool tones. LEDs produce minimal heat, enhancing safety and comfort.
Applications are vast, ranging from portrait photography to general room illumination. Affordable LED panels and fixtures make them accessible for beginners. Used photography equipment can offer budget-friendly options, building a capable kit for under $700.
Strobe/Flash Lighting: Power and Control
Strobe lighting provides intense bursts of illumination, essential for overcoming ambient light and freezing motion. Systems like the Godox AD200 and AD400 offer scalability, starting with a basic kit and expanding as needed. Power control is paramount, allowing precise adjustment of light intensity for desired effects.
Mastering strobe lighting unlocks advanced techniques like Rembrandt and butterfly lighting. While requiring a learning curve, the control offered surpasses continuous sources. Investing in used equipment can provide a real photographic kit without breaking the bank.
Continuous Lighting: Simplicity and Versatility
Continuous lighting offers a straightforward approach, mimicking natural light for ease of use and visualization. While generally less powerful than strobes, it’s ideal for beginners and certain applications. The “what you see is what you get” nature simplifies setup and allows for real-time adjustments.
This type of lighting is particularly useful for video, where consistent illumination is crucial. Though some cheaper options may lack long-term value, continuous lights provide a versatile foundation for learning fundamental lighting principles and exploring creative vision.
Basic Lighting Techniques for Portrait Photography
Portrait photography thrives on skillful illumination, shaping mood and highlighting features. Mastering fundamental techniques is crucial for flattering results. Techniques like Rembrandt, Butterfly, and Loop lighting offer distinct aesthetics. Rembrandt lighting creates dramatic shadows, while Butterfly lighting provides a classic, flattering look.
Loop lighting, a versatile option, minimizes shadows. Understanding light placement – height and angle – is paramount. These techniques aren’t rigid rules, but starting points for developing a unique style and artistic vision, enhancing the subject’s best qualities.
Rembrandt Lighting: Creating Dramatic Shadows
Rembrandt lighting, named after the painter, is renowned for its dramatic effect. It’s characterized by a triangular patch of light on the subject’s cheek, opposite the light source. This is achieved by positioning the light source high and to one side, creating a distinct shadow on the other side of the face.
This technique is universally flattering, though subtle adjustments are needed for different face shapes. It’s ideal for conveying mood and depth, adding a sense of mystery and sophistication to portraits. Avoid intersecting shadows from the nose and cheek for the classic Rembrandt triangle.
Butterfly Lighting: Flattering and Classic
Butterfly lighting, also known as Paramount lighting, is a classic portrait technique celebrated for its flattering qualities. The light source is positioned directly in front of and above the subject, creating a symmetrical butterfly-shaped shadow under the nose. This minimizes imperfections and emphasizes cheekbones.

It’s particularly effective for subjects with strong facial features. However, it can sometimes appear less interesting due to its simplicity. Adjusting the light’s height and distance alters the shadow’s intensity, allowing for nuanced control. It’s generally discouraged if it lacks visual interest.
Loop Lighting: A Versatile Approach
Loop lighting is a highly adaptable portrait lighting pattern, offering a balance between flattering illumination and subtle dimensionality. The light source is positioned slightly to the side and above the subject, creating a small, loop-shaped shadow on the cheek. This distinguishes it from butterfly lighting, where the shadow is directly under the nose.
It’s considered a versatile “go-to” setup, flattering to most face shapes. The key is ensuring the nose shadow doesn’t connect with the cheek shadow. Mastering loop lighting provides a solid foundation for exploring more complex lighting schemes.
Advanced Portrait Lighting Patterns
Beyond foundational techniques, advanced portrait lighting patterns unlock dramatic and expressive possibilities. These patterns manipulate shadows and highlights to sculpt the face, conveying specific moods and emphasizing features. Exploring split lighting introduces high contrast, dividing the face into light and dark halves for a bold, artistic effect.
Rim lighting, conversely, separates the subject from the background, creating a halo effect. Mastering these patterns requires understanding how light interacts with form, allowing photographers to move beyond simple illumination and craft compelling visual narratives.
Split Lighting: High Contrast and Mood
Split lighting dramatically divides the face, illuminating only half while leaving the other in shadow. This technique creates a striking, high-contrast look, ideal for conveying intensity, mystery, or a sense of inner conflict. It’s a powerful tool for artistic portraits, emphasizing facial structure and adding depth.
Careful positioning of the light source is crucial; it should be at a 90-degree angle to the subject’s face. While often discouraged for universally flattering results, split lighting excels in creating a specific, impactful mood and visual statement.
Rim Lighting: Separating Subject from Background
Rim lighting, also known as edge lighting, creates a bright outline around the subject, effectively separating them from the background. This is achieved by positioning the light source behind the subject, shining towards the camera. The result is a halo effect that adds depth and dimension to the image.
This technique is particularly useful in situations with low contrast or busy backgrounds. It draws the viewer’s eye to the subject and enhances the overall visual impact. Experiment with light placement to control the width and intensity of the rim.
Lighting Equipment for Beginners
Starting with lighting doesn’t require a massive investment. Essential beginner equipment includes softboxes and diffusers to soften harsh light, creating a more flattering look. Reflectors are incredibly versatile, bouncing light to fill shadows and add brightness. Don’t underestimate the value of used equipment – a complete kit can be found for $600-700.
Light stands are crucial for positioning your lights, and modifiers allow you to shape and control the light output. Prioritize quality over quantity, focusing on tools that offer flexibility and learning opportunities.
Softboxes and Diffusers: Softening the Light
Softboxes are essential for creating soft, diffused light, minimizing harsh shadows and flattering your subject. They work by spreading the light source, reducing its intensity and creating a more even illumination. Diffusers, often used in front of flashes or strobes, achieve a similar effect, scattering the light for a gentler output.
These modifiers are particularly useful in portrait photography, providing a pleasing aesthetic. Investing in a quality softbox or diffuser is a cost-effective way to dramatically improve your lighting results.
Reflectors: Bouncing Light for Fill
Reflectors are incredibly versatile tools for manipulating light without adding a new light source. They work by bouncing existing light – whether natural or artificial – back onto your subject, filling in shadows and creating a more balanced exposure. Available in various colors (white, silver, gold), each reflector offers a different effect.
White reflectors provide soft, neutral fill, silver offers brighter, more specular reflections, and gold adds warmth. They’re a budget-friendly way to enhance your lighting setup and are crucial for outdoor shoots.
Light Stands and Modifiers: Positioning and Shaping Light
Light stands are the foundation for precise light placement, offering stability and adjustable height for your lighting equipment. Crucially, modifiers – like softboxes and umbrellas – attach to these stands, altering the quality of light emitted. Softboxes diffuse light, creating a softer, more flattering effect, while umbrellas offer a broader spread.
Choosing the right stand and modifier combination is vital for achieving your desired look. Investing in sturdy stands ensures safety and reliability, allowing for creative control over light direction and intensity.
Lighting for Different Photography Genres
Genre dictates lighting needs. Product photography demands precise illumination to highlight details, often utilizing diffused light and multiple sources. Wedding photography, conversely, requires adaptability, blending ambient light with flash for candid moments and reception ambiance.

Portraiture benefits from controlled setups like Rembrandt or butterfly lighting, while landscape photography often relies on natural light during golden or blue hours. Understanding these nuances is crucial; a one-size-fits-all approach rarely yields optimal results. Tailoring your lighting strategy to the specific genre elevates your photographic storytelling.
Product Photography Lighting: Highlighting Details
Detail is paramount in product photography. Achieving this requires careful lighting control. Soft, diffused light minimizes harsh shadows and reflections, showcasing textures and form accurately. Often, a three-point lighting setup – key, fill, and backlight – is employed. The key light provides the primary illumination, while the fill light softens shadows.
A backlight separates the product from the background, adding dimension. Light tents or softboxes are invaluable tools for diffusion. Consistent color temperature is vital for accurate representation. Mastering these techniques ensures products appear appealing and professional.
Wedding Photography Lighting: Capturing Moments
Wedding photography demands adaptability in lighting; Often, photographers work in mixed lighting conditions – natural light, ambient room light, and flash. On-camera flash can be harsh, so bouncing it off ceilings or walls creates softer illumination. Off-camera flash offers greater control, allowing for dramatic or subtle effects.
During receptions, utilizing existing ambient light is crucial, supplemented by discreet flash when needed. Capturing candid moments requires a fast shutter speed and appropriate ISO. Understanding light meters and white balance is essential for accurate color rendition, preserving cherished memories beautifully.
The Role of Lighting in Interior Design
Lighting profoundly impacts a space’s atmosphere and functionality. A successful scheme layers natural, general, accent, and task lighting. Ambient lighting provides overall illumination, establishing a base level of brightness. Task lighting focuses on specific areas – reading nooks, kitchen counters – enhancing usability.
Accent lighting highlights architectural features or artwork, adding visual interest. Consider color temperature; warmer tones create cozy environments, while cooler tones feel more energetic. Smart lighting systems offer control and customization, adapting to different moods and activities, ultimately transforming a house into a home.
Ambient Lighting: General Illumination
Ambient lighting forms the foundational layer of any well-designed space. It’s the overall illumination that allows you to navigate and function comfortably. Think of it as mimicking natural daylight, providing a consistent level of brightness throughout a room. Chandeliers, flush mounts, and recessed lighting are common choices for achieving ambient light.
Dimmer switches are invaluable, offering control over intensity and mood. Consider layering ambient light with other types – task and accent – for a more dynamic and functional scheme. The goal is to create a welcoming and comfortable atmosphere, avoiding harsh shadows or glare.
Task Lighting: Focused Illumination
Task lighting is designed for specific activities, providing concentrated illumination where needed. Unlike ambient lighting’s broad coverage, task lighting prioritizes functionality and clarity. Desk lamps for reading, under-cabinet lights in kitchens, and spotlights over workbenches are prime examples.
Effective task lighting minimizes eye strain and enhances precision. Adjustable lamps are beneficial, allowing you to direct light exactly where it’s required. Consider the color temperature; cooler tones are often preferred for tasks demanding focus, while warmer tones suit more relaxed activities. Proper placement is crucial for avoiding shadows.
Accent Lighting: Highlighting Features
Accent lighting adds drama and visual interest by drawing attention to specific elements within a space. This isn’t about general illumination, but rather about showcasing artwork, architectural details, or decorative objects. Track lighting, spotlights, and wall-mounted fixtures are commonly used for accentuation.
Strategic placement is key; aim to create pools of light that emphasize texture and form. Consider using different color temperatures to evoke specific moods. Accent lighting complements ambient and task lighting, creating a layered and sophisticated lighting scheme. It’s the final touch that elevates a room’s aesthetic appeal.
Natural Light Photography: Utilizing Sunlight
Harnessing sunlight offers unique photographic opportunities, providing soft, diffused illumination and vibrant colors. Understanding how light changes throughout the day is crucial. The “golden hour” – shortly after sunrise and before sunset – delivers warm, flattering light ideal for portraits and landscapes.
Conversely, the “blue hour” – twilight – offers cool, atmospheric tones. Diffuse light on cloudy days minimizes harsh shadows, perfect for even illumination. Mastering natural light requires observation, timing, and utilizing reflectors to bounce light and fill shadows. It’s a cost-effective and beautiful approach.
Golden Hour Lighting: Warm and Soft
The golden hour, occurring shortly after sunrise and before sunset, bathes subjects in a warm, soft glow, highly sought after by photographers. This light’s low angle creates long shadows, adding depth and dimension. The color temperature is rich and flattering to skin tones, minimizing imperfections.
Utilizing this light requires careful timing and positioning. Backlighting can create beautiful rim light, separating the subject from the background. Shooting during the golden hour often requires minimal additional lighting, enhancing natural beauty. It’s a magical time for capturing stunning imagery.
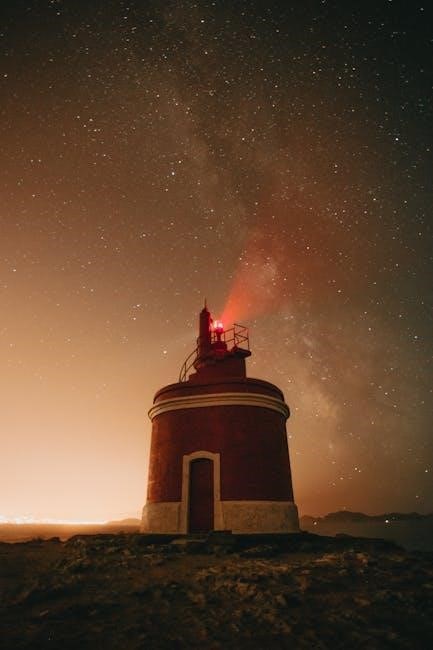
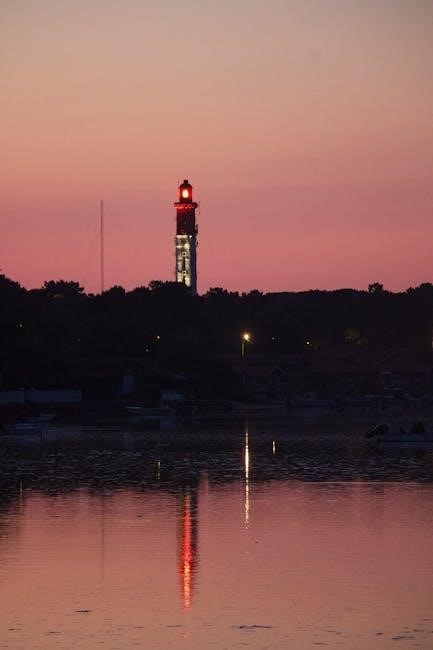
Blue Hour Lighting: Cool and Atmospheric
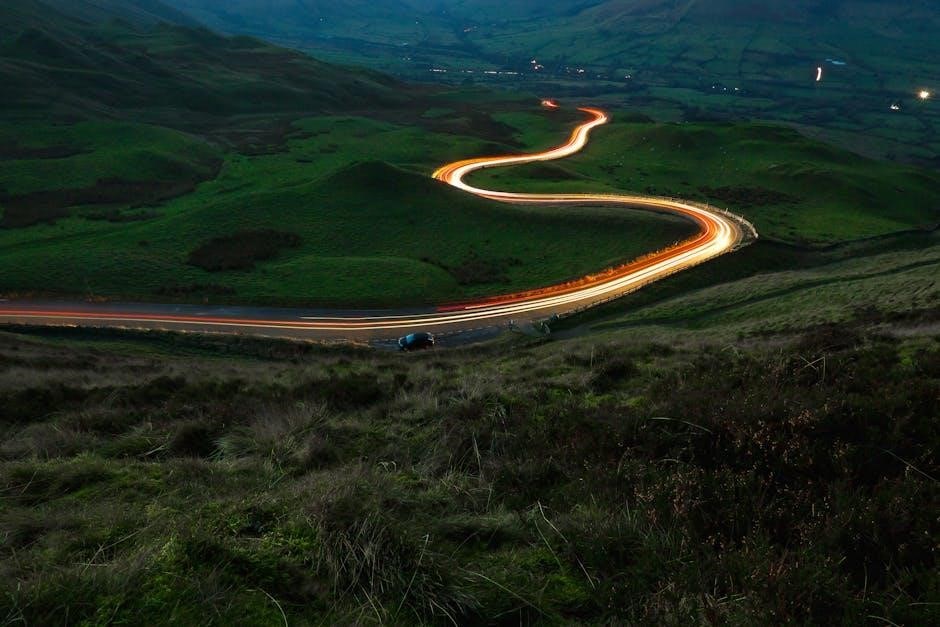
The blue hour, the period of twilight each morning and evening, presents a unique and atmospheric lighting scenario. Characterized by a cool, soft, and diffused light, it offers a distinct mood compared to the golden hour. This light is ideal for cityscapes and landscapes, enhancing the colors of the sky and artificial lights.
Long exposures are often necessary during the blue hour due to the lower light levels. Utilizing a tripod is crucial for sharpness; The cool tones can create a sense of tranquility or mystery, depending on the composition and subject matter. It’s a captivating time for evocative photography.
Budget-Friendly Lighting Options
Achieving professional lighting doesn’t require a massive investment. The used market offers excellent opportunities to acquire quality equipment at reduced prices. Consider purchasing used photography kits, potentially including strobes and modifiers, for around $600-$700. This provides a solid foundation for learning and experimentation.
Expanding your kit later with additional lights like AD400s is possible, utilizing existing equipment as fill or hair lights. Prioritize essential items and avoid unnecessary spending on gear that won’t significantly improve your results. Resourcefulness and smart shopping are key to affordable lighting.
Utilizing Used Photography Equipment
Embracing the pre-owned market is a smart strategy for budget-conscious photographers. High-quality lighting equipment, often barely used, can be found at significantly lower prices than new alternatives. Platforms like online marketplaces and photography forums are excellent resources for sourcing used gear.
Focus on reputable brands and carefully inspect equipment before purchasing. A complete kit, including strobes, softboxes, and stands, can be acquired for $600-$700. This approach avoids wasting money on gear that may not meet your needs, allowing for future upgrades as your skills evolve.
Creative Lighting Techniques
Beyond the basics lie techniques that define artistic vision. High-key lighting, characterized by bright, airy aesthetics, minimizes shadows for a cheerful, optimistic feel. Conversely, low-key lighting employs dramatic shadows and dark tones, creating mood and intrigue.
Remember, stunning art isn’t born from formulas, but from creative skill and vision. Experimentation is crucial; any technique can be impactful when executed thoughtfully. Don’t be afraid to break conventions and develop a unique style that reflects your artistic voice.
High-Key Lighting: Bright and Airy
High-key lighting prioritizes brightness and minimal shadows, resulting in a clean, optimistic aesthetic. This technique typically involves a powerful key light and often utilizes white or brightly colored backgrounds to maximize reflectivity. It’s ideal for creating a cheerful, ethereal mood, often seen in fashion and beauty photography.
Successfully achieving high-key requires careful exposure control to prevent blown-out highlights. While seemingly simple, mastering this style demands precision and an understanding of how light interacts with surfaces. The goal is a soft, even illumination that feels airy and inviting.
Low-Key Lighting: Dark and Dramatic
Low-key lighting embraces shadows and darkness, creating a mood of mystery, intensity, and drama. This style relies on a single, focused light source and minimal fill light, allowing large portions of the image to fall into shadow. It’s frequently employed in portraiture to emphasize form and texture, and in still life to evoke a sense of intrigue.
Effective low-key lighting demands precise control over light placement and intensity. Careful attention must be paid to highlight key features while allowing the surrounding areas to recede into darkness. The result is a visually striking image with a strong emotional impact.
The Importance of Light Metering
Accurate light metering is fundamental to achieving well-exposed photographs, regardless of lighting style. A light meter measures the intensity of light falling on your subject, providing crucial data for setting aperture, shutter speed, and ISO. Relying solely on camera’s internal meter can be misleading, especially in complex lighting scenarios.
Understanding how to interpret meter readings – and when to intentionally deviate from them – is a key skill. Mastering light metering ensures consistent results and allows for creative control over the final image’s brightness and tonal range, preventing under or overexposure.
Developing Your Lighting Style
Cultivating a unique lighting style is a journey of experimentation and self-expression. Don’t simply replicate techniques; analyze what appeals to you in the work of others and adapt those elements. Practice consistently, intentionally varying light direction, intensity, and quality to observe the effects.
Embrace failure as a learning opportunity. Your style will emerge as you refine your vision and develop a personal aesthetic. Remember, stunning art isn’t about formulas, but about creative skill and vision – a signature look that defines your photographic voice.